File Uploads
Allow users to upload documents and chat with them directly in the conversation.
Enabling File Uploads
Open “Model Settings” on the Agents page and look for the File Uploads section.
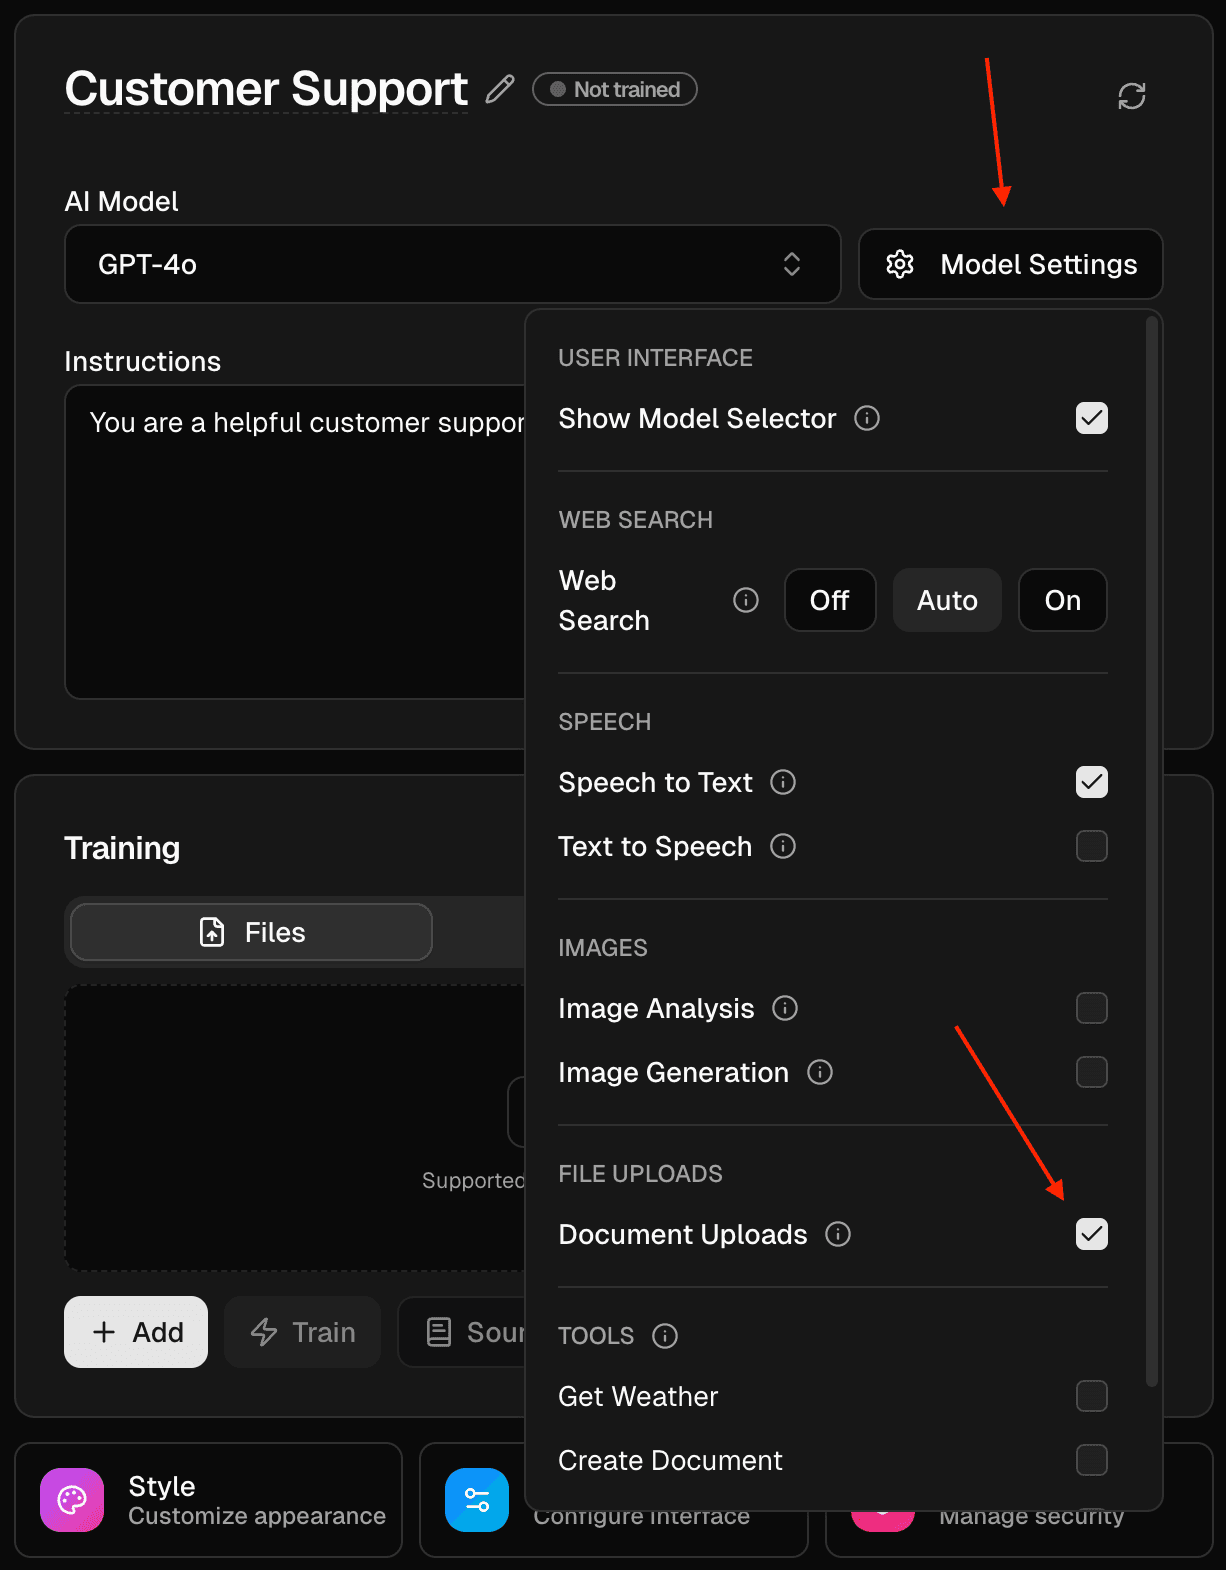
Steps:
- Open the dashboard and select your agent.
- Click “Model Settings”.
- Under “File Uploads”, toggle on “Document Uploads”.
- Close the popover. Your changes save automatically.
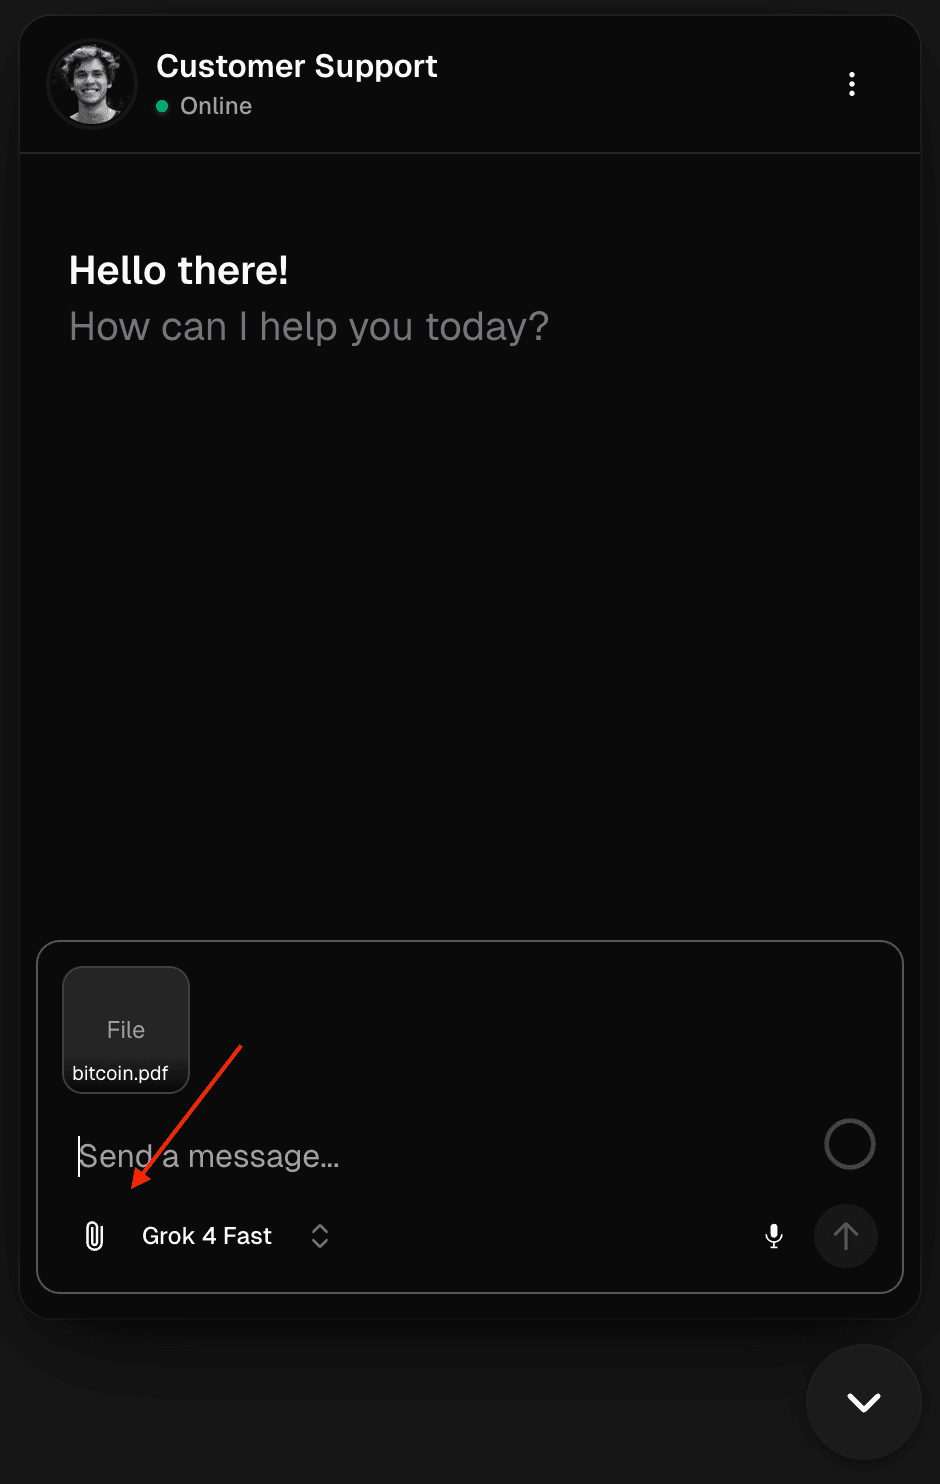
How It Works
Once enabled, users can upload documents by clicking the attachment icon in the chat interface.
Supported file formats:
- DOCX
- TXT
- MD
Users can then ask questions about the uploaded documents, and the agent will analyze and respond based on the content.
Important Notes
- User-uploaded files are isolated in their own namespace in the vector database
- Uploads don’t get mixed with the agent’s own training data
- Uploads from different users are kept separate
- User uploads are automatically deleted after a period of time
See also
Last updated on