Getting Started
This short guide gets you from sign‑in to a working agent in a few minutes.
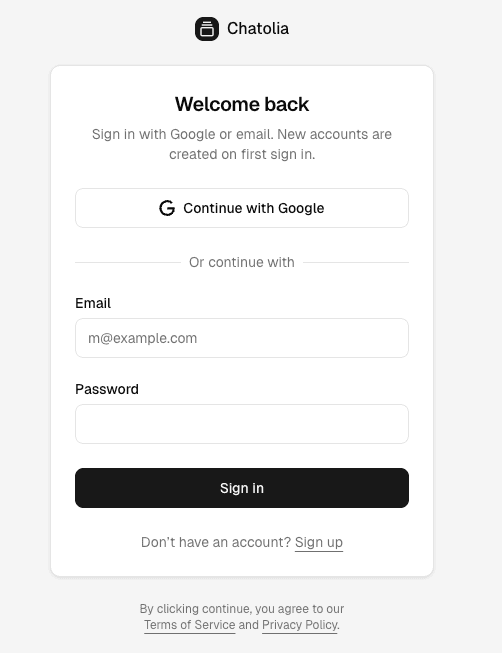
1) Sign in
Go to chatolia.com/login and sign in with your account.
2) Open the Dashboard
Navigate to the dashboard . You will land on the Agents page.
3) Choose or create a Workspace
Use the Workspace switcher in the header (building icon) to select a workspace. If you don’t have one yet, click “Create or join workspace” or open the workspaces page to make one.
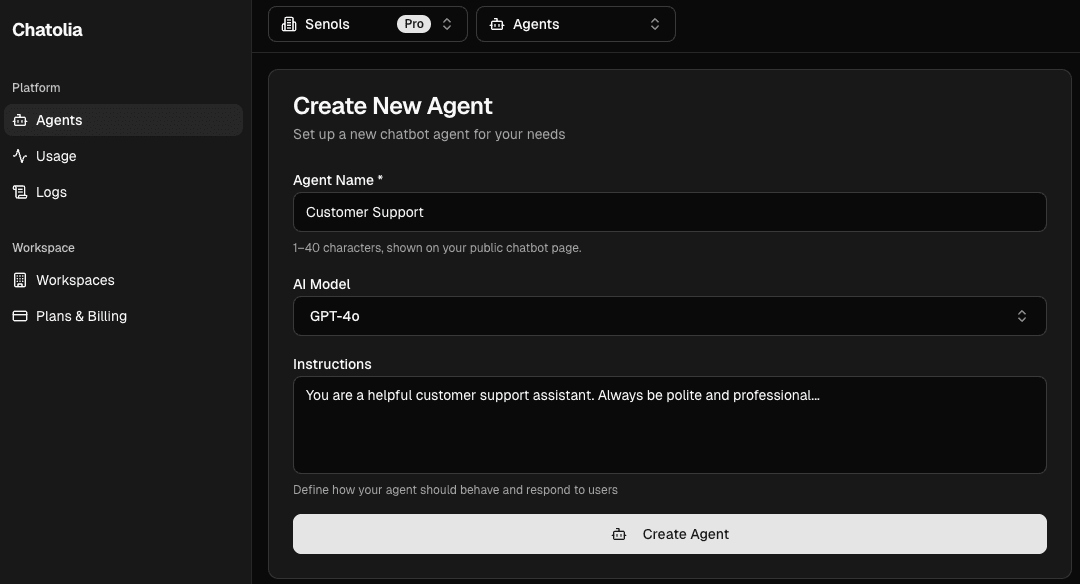
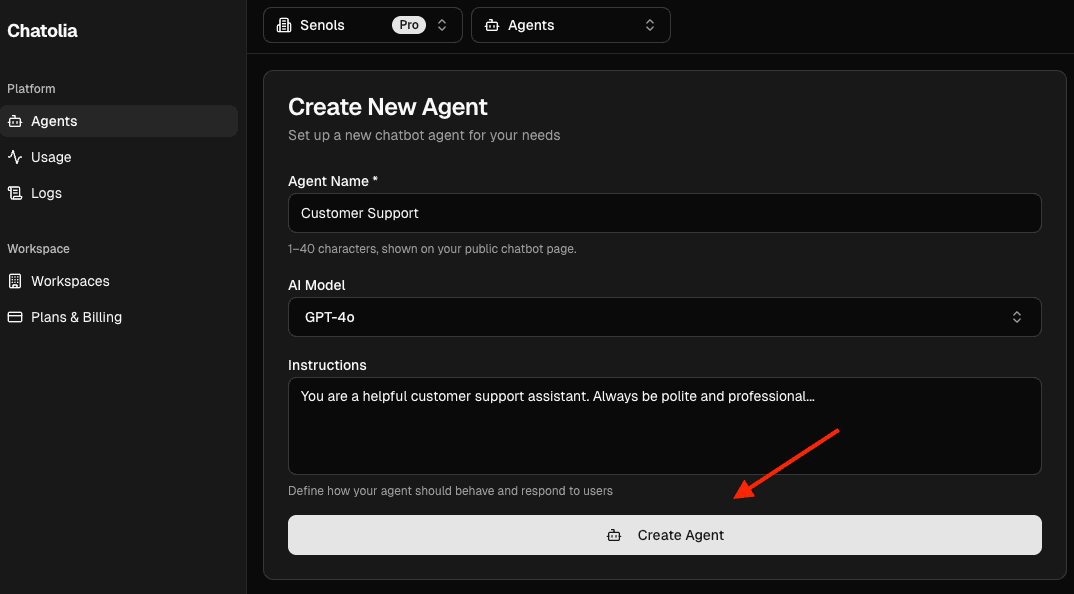
4) Create your first Agent
In the header, open the Agent switcher (bot icon) and choose “Create new agent”. Give it a name and confirm. Chatolia will create a public URL for the agent automatically.
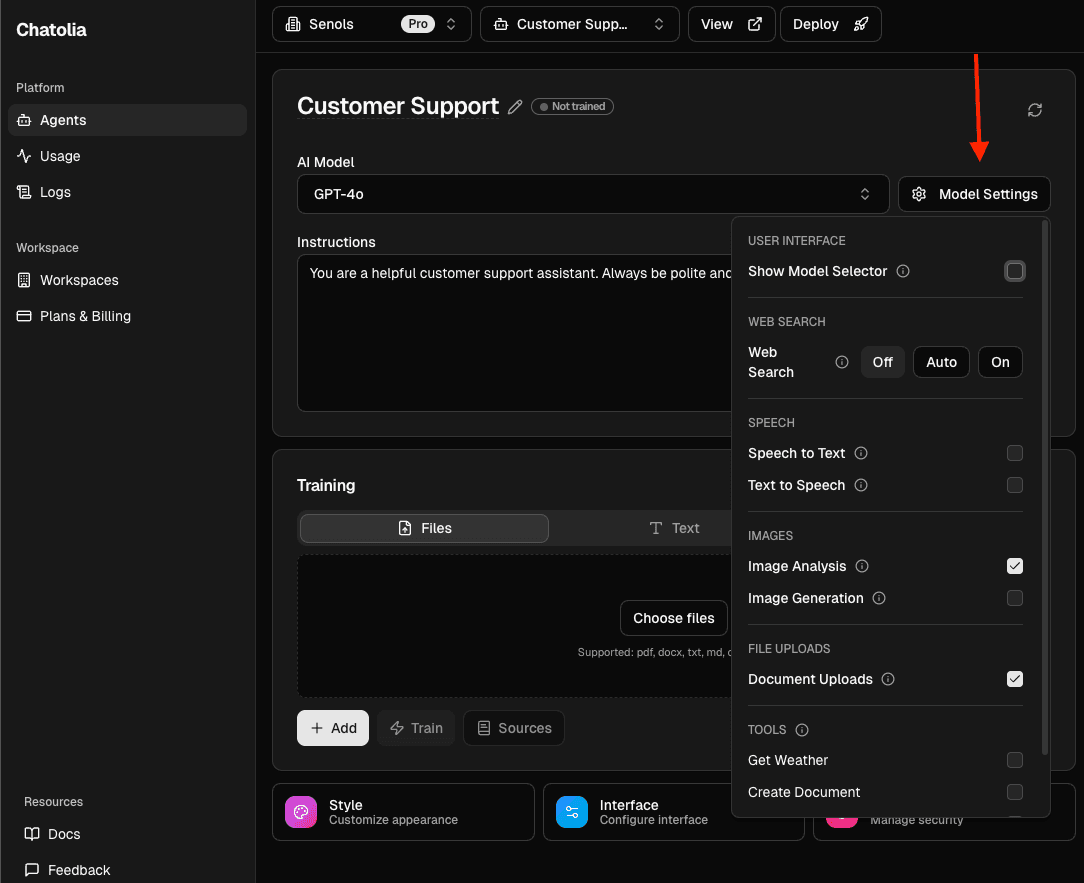
5) Pick a model and basic settings
On the Agents page:
- Use the “AI Model” dropdown to select a chat model that fits your plan.
- Open “Model Settings” to fine‑tune Web Search, Speech, Images, and UI controls.
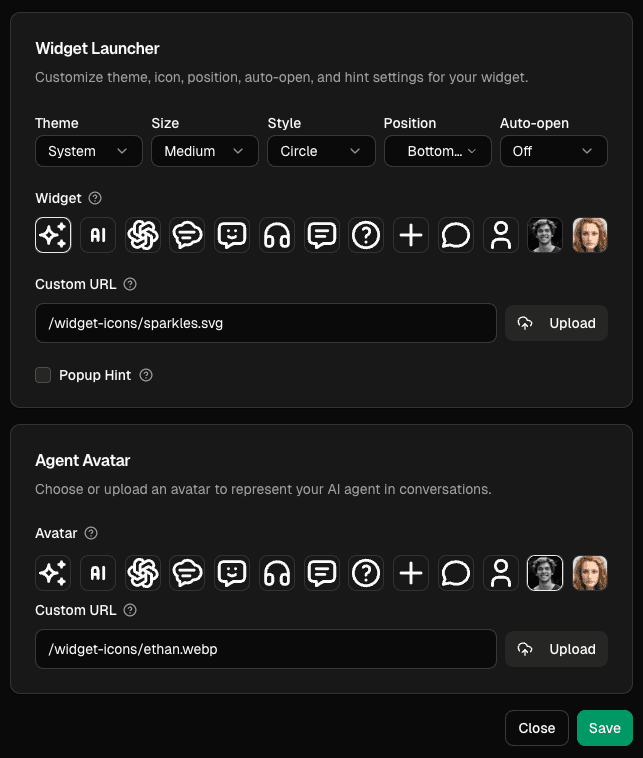
- Open “Theme & Style” to set the theme, avatar, widget icon, and launcher position.
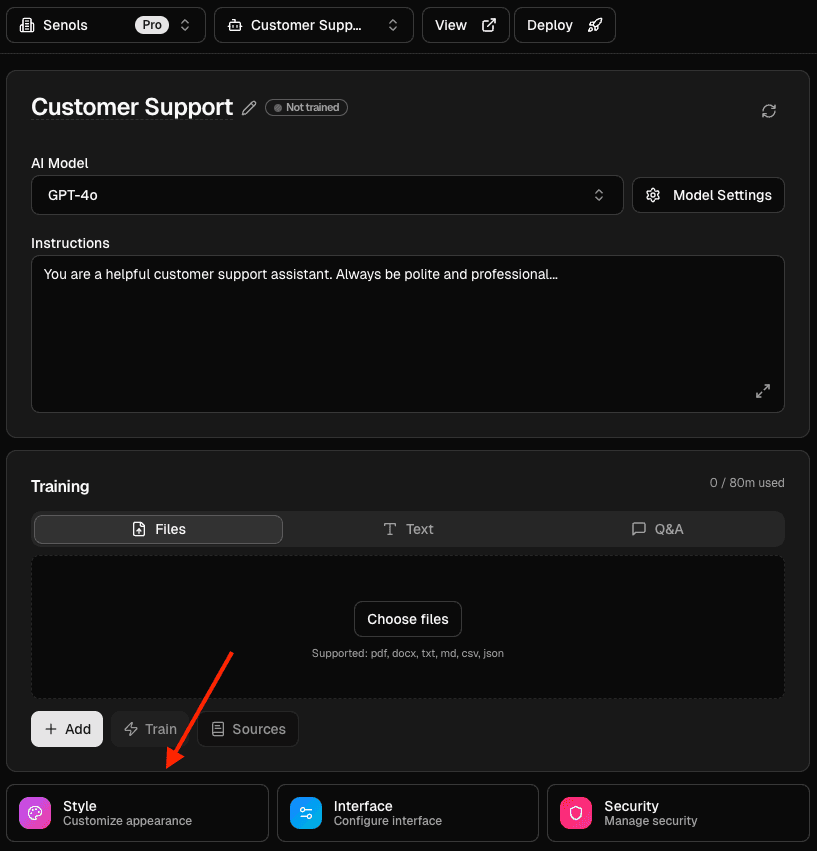
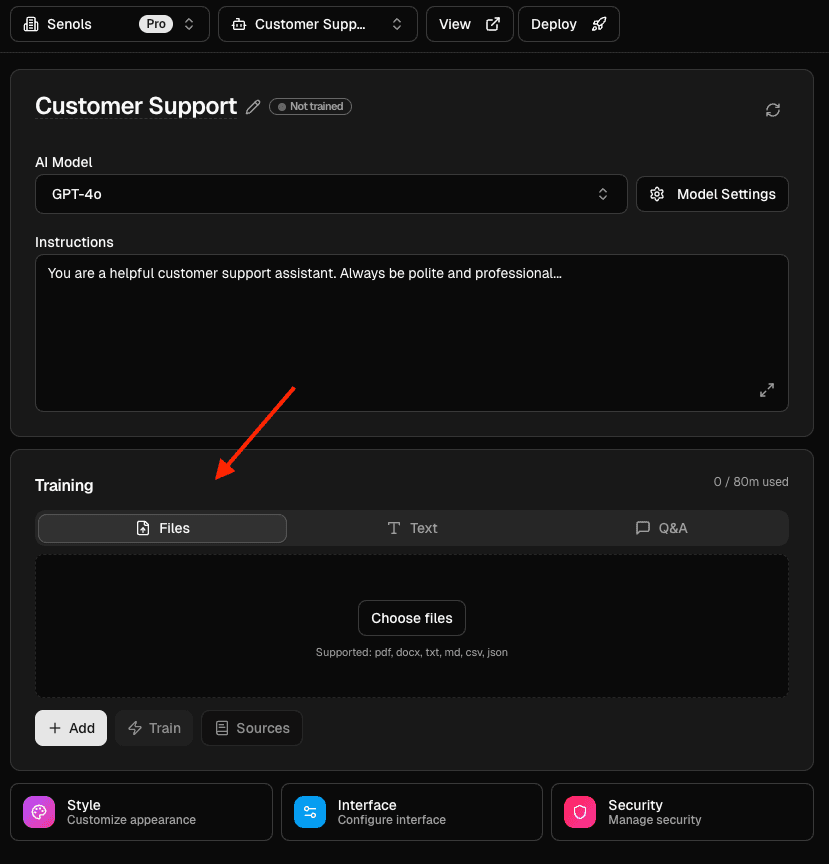
6) Add knowledge
If your agent should answer from your content, add it under “Training”.
You can paste Text, create Q&A pairs, upload Files, or train from Website pages (Scrape / Map / Crawl). Click “Train” to apply changes. You can retrain anytime.
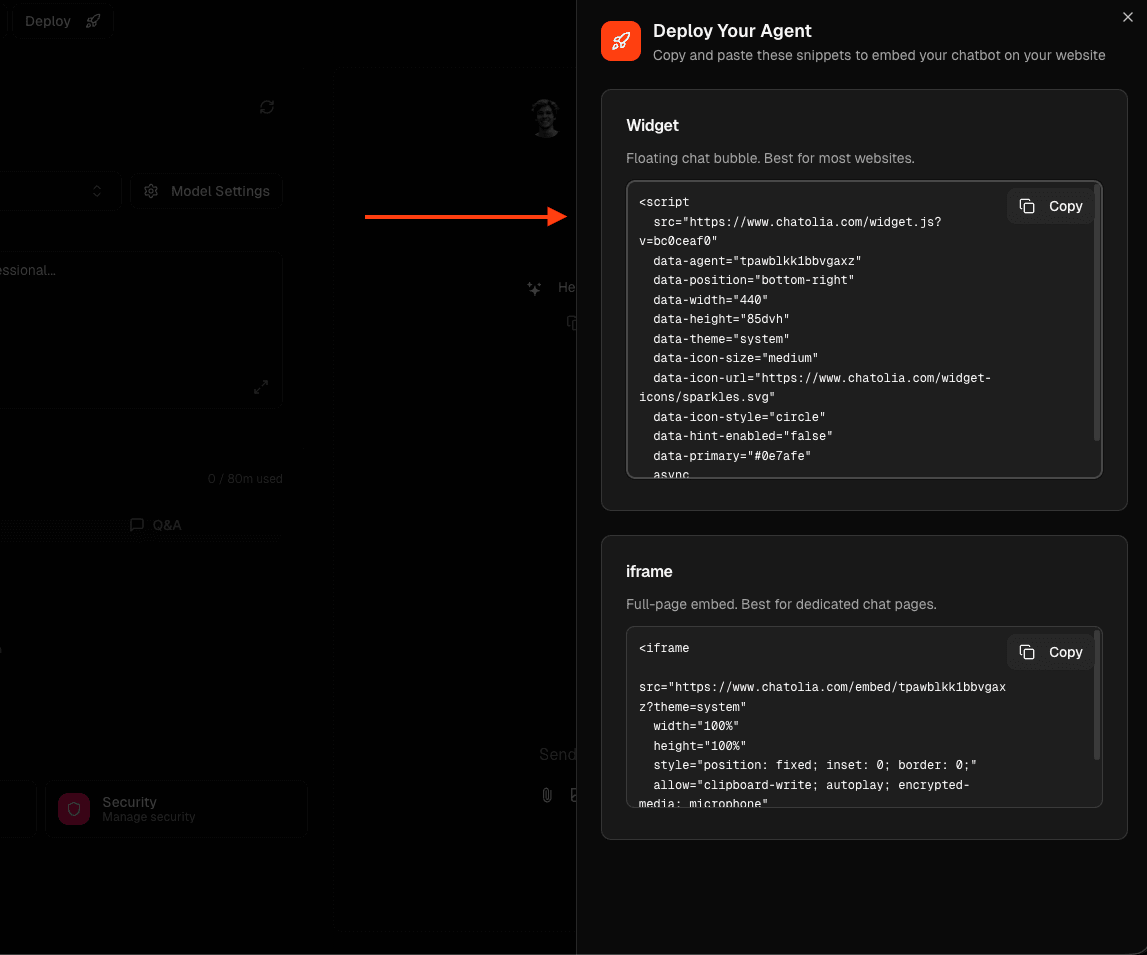
7) Share or embed your agent
Click “View” to open the public page at https://chatolia.com/c/{publicId}.
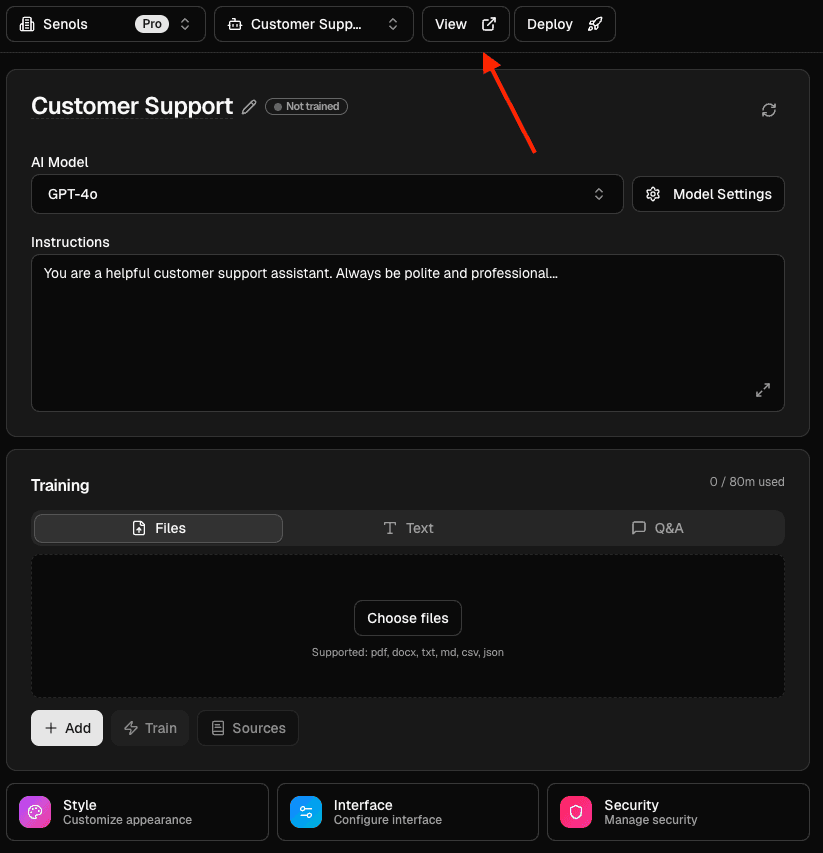
Click “Deploy” to copy the widget or iframe snippet if you want to embed the agent on your website.
What’s next?
- See Agents → Models to learn about model choices.
- See Agents → Training to build your knowledge base.
- See Integrations → Slack if you want to chat with your agent in a Slack channel.
- See Usage → Credits to understand how credits are counted.